by Lora Frost | Jun 16, 2026 | Historic Renovation, Kitchen Design
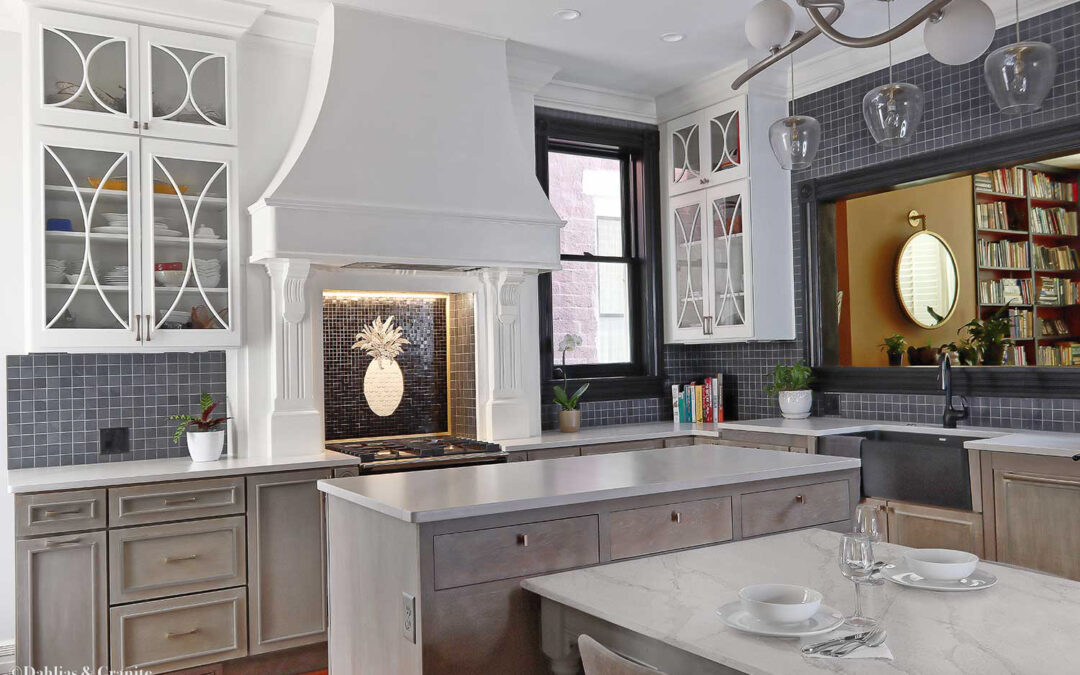
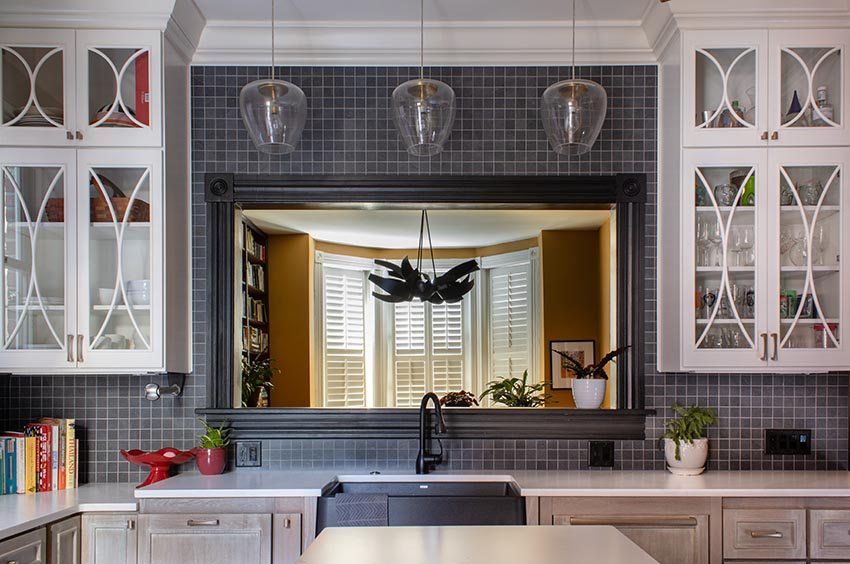
A Victorian kitchen renovation that feels original to the house doesn’t announce itself, and that’s the point. It doesn’t have a moment where you walk in and register that something dramatic happened here — no before-and-after reveal energy, no...
by Lora Frost | Jun 16, 2026 | Historic Renovation, Kitchen Design
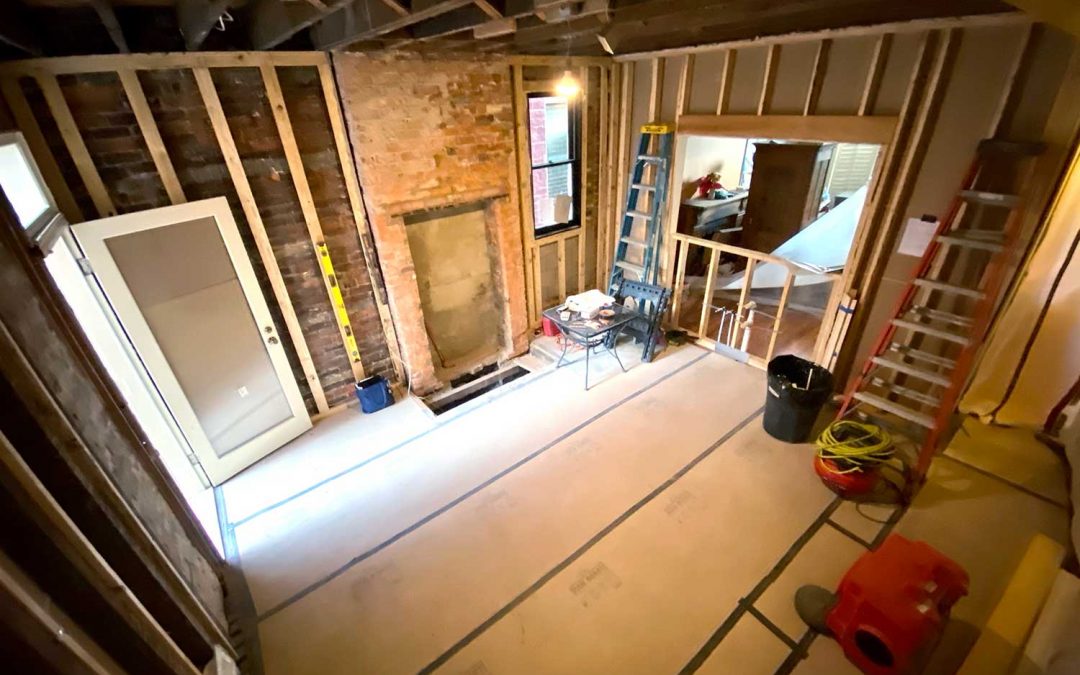
There is a particular quality of clarity that comes from a room stripped to its studs — not emptiness exactly, but honesty. You can see how the house was built and what decisions were made along the way, which ones were careful and which ones were expedient, which...
by Lora Frost | Jun 15, 2026 | Historic Renovation, Studio Notes
The biggest surprise for most homeowners isn’t the cost of finishes. It’s what happens when walls are opened and a century of previous decisions are revealed. Knob-and-tube wiring that someone once extended with romex and electrical tape. A drain line...
by Lora Frost | Jun 3, 2026 | Studio Notes
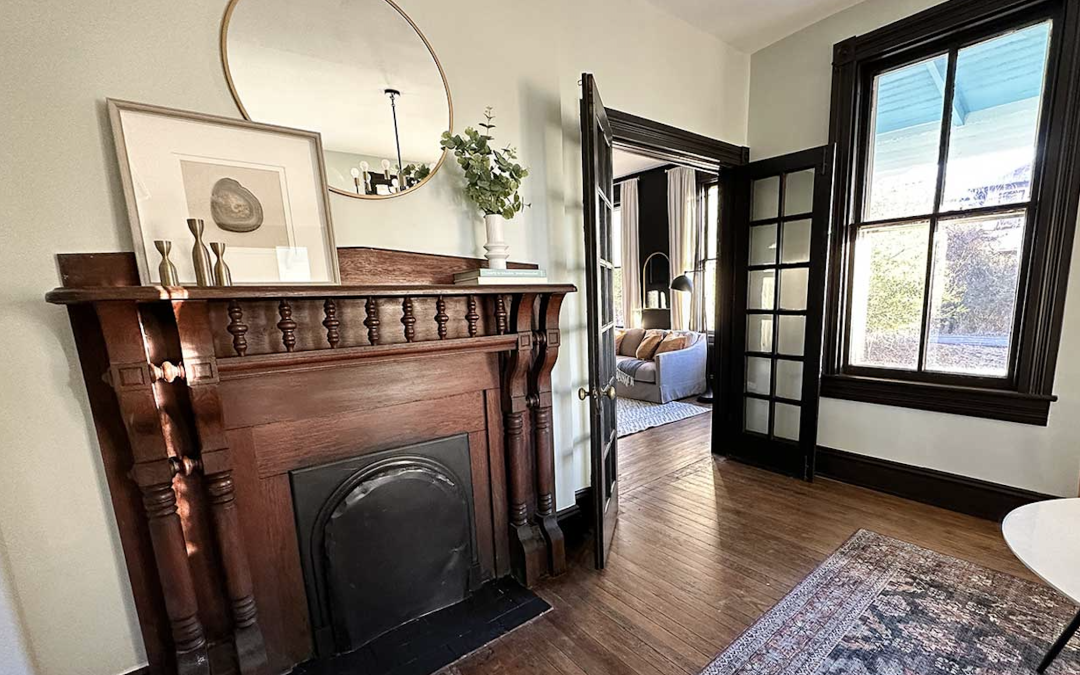
You feel it as you step inside, before you’ve taken more than a few paces. Something settles. Not excitement, not surprise — just a quiet sense of ease, like your shoulders dropping without you realizing they were tense. The door closes behind you with a solid,...

by Lora Frost | May 27, 2026 | Studio Notes
Some things about how I work are hard to explain in a studio bio. If you’ve ever walked into a space and felt immediately, inexplicably at home — or the opposite — you already know what this is about. Throughout my entire life, I have been able to feel...
