by Lora Frost | May 5, 2026 | Historic Renovation, Kitchen Design
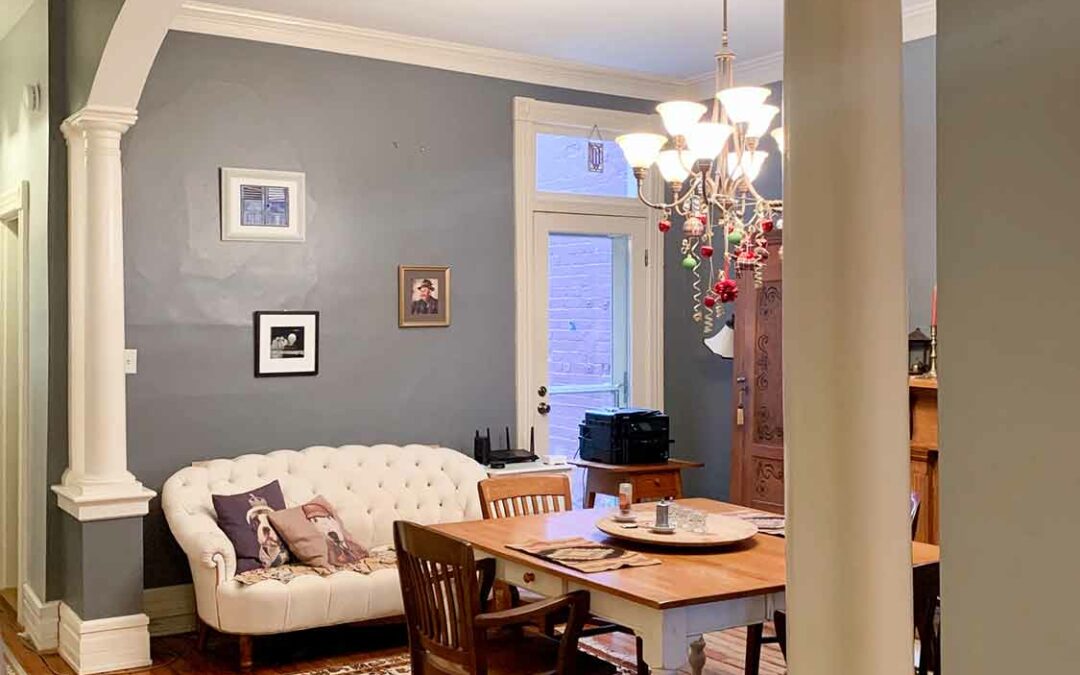
This Victorian home renovation began with understanding why the additions never quite belonged. An 1889 Victorian home in Richmond’s Church Hill neighborhood had everything going for it — ten-foot ceilings, intact millwork, and a layout that still largely made...
by Lora Frost | Apr 20, 2026 | Historic Renovation, Kitchen Design
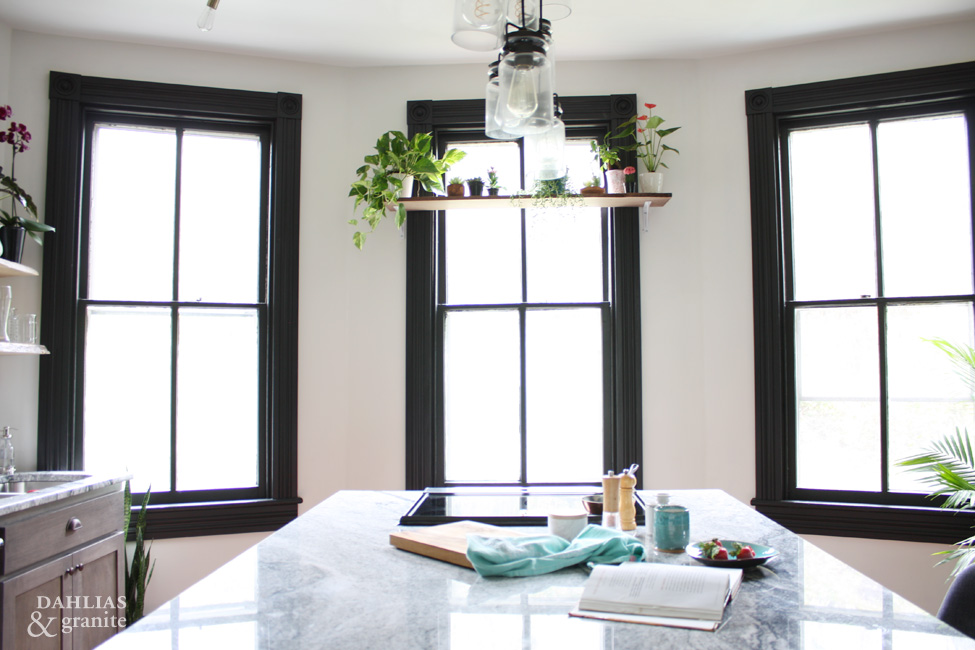
Historic home renovation in Denver · Kitchen design There’s a moment in every renovation when the room stops being a project and starts being a place. In this kitchen it happened somewhere between the first morning I sat at the island with coffee — made with...
by Lora Frost | Apr 17, 2026 | Historic Renovation, Kitchen Design
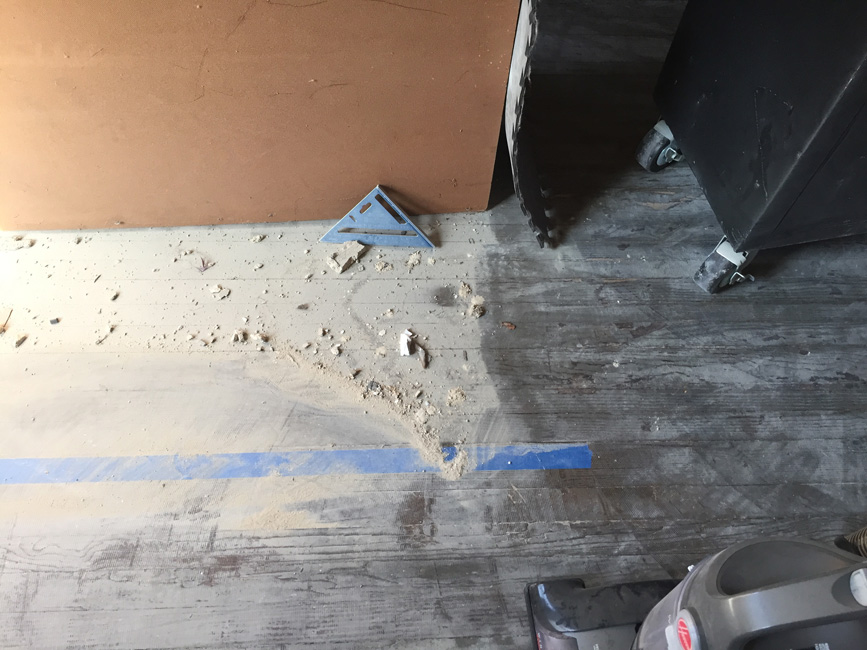
The Build: What It Actually Takes to Renovate a 1911 Kitchen There is a version of a kitchen renovation that exists in renderings — clean lines, finishes selected, everything in its place. And then there is the version that exists before that one, where the walls are...

by Lora Frost | Apr 17, 2026 | Historic Renovation, Kitchen Design
Before anything gets built, there’s a period where the room exists only on paper — and the job is to find the layout that stops arguing with itself. For this kitchen, that took five iterations before I got to two concepts worth presenting. A room with three bay...

by Lora Frost | Apr 16, 2026 | Historic Renovation, Kitchen Design
Every contractor who walked through said the same thing. They were all wrong. The first question every contractor asked when they walked through the home was the same: “How about we just put the kitchen where the old kitchen was?” Every time, my answer was no. The...
